
Color, Monochrome, and Workflow
Color, Monochrome, and Workflow
I’ve been thinking a lot about color vs black and white imagery lately while settling into a new workflow based on Lightroom CC. My color…

I’ve been thinking a lot about color vs black and white imagery lately while settling into a new workflow based on Lightroom CC. My color blind eyes tend to heavily favor richly toned black and white images over colorful ones. It has crossed my mind on many occasions to completely eschew color image processing. It would be a huge simplification to my workflow and decision making process. Committing at that level isn’t a simple decision though and I’m not convinced that every image is well represented in monochrome.
Lightroom CC has a feature called Profiles and it has changed the way I process images lately. Camera Profiles used to be more of a raw file thing, used for controlling how the software initially processes the raw image data. I’ve found that the new Profiles in Lightroom work quite well on JPEGs too. For the most part up to now, I had been setting my Fujifilm cameras to a film simulation and committing ahead of time to black and white or color. This worked fairly well for me. There are times though when I wished that I had a bit more control over the black and white tone of a camera JPEG. Maybe the white balance wasn’t quite right, which can greatly skew the monochrome tonality. Sure, I could shoot raw plus JPEG and use the raw files to fix problems. I’m trying to minimize my post processing as much as possible though.
I love my Fujifilm cameras’ Classic Chrome simulation for color imagery. When I shoot for color, it’s the one I’m most likely to choose. I’ve discovered that Classic Chrome converts quite nicely to monochrome. It has a deep tonality and contrast that provides an excellent starting point for what I like in a black and white image. In my experimentation with Lightroom CC I have found that the Profiles produce some great monochrome conversions of Classic Chrome JPEGs, as well as providing a great pop to color images. Both styles of processing look great to my eyes and as a result I’m more divided that ever when it comes to making the choice for color or not.
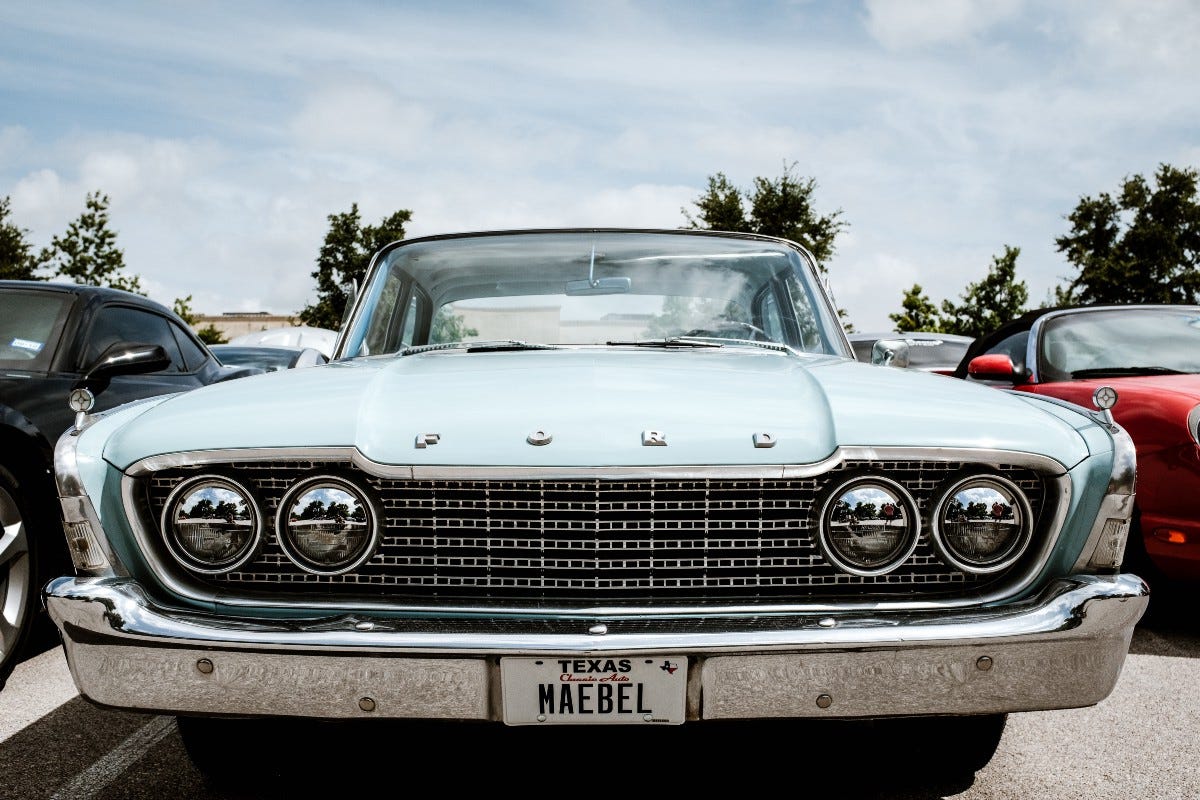
My shots at a recent car show are a good example. I like to use black and white in contrasty lighting scenarios, which works well in sunny central Texas. However, I prefer color a lot of times for car and motorcycle photos because the colors can be a huge part of the appeal of a machine. In the 2 images below, I created a color and monochrome version of “Maebel”. While I like the deep muted tones in the color image, the moody black and white was my choice. There was some drama in the sky that I didn’t want to lose and clouds like that are rare on our hot summer days around here.

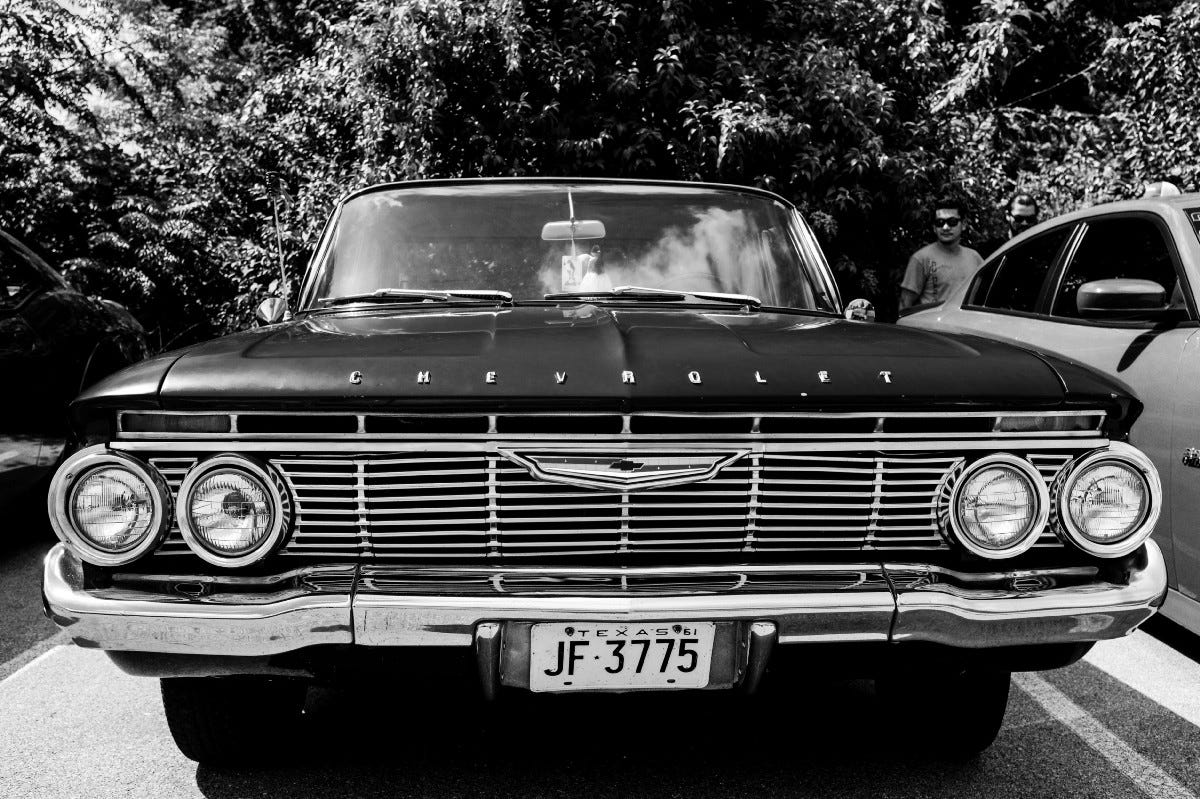
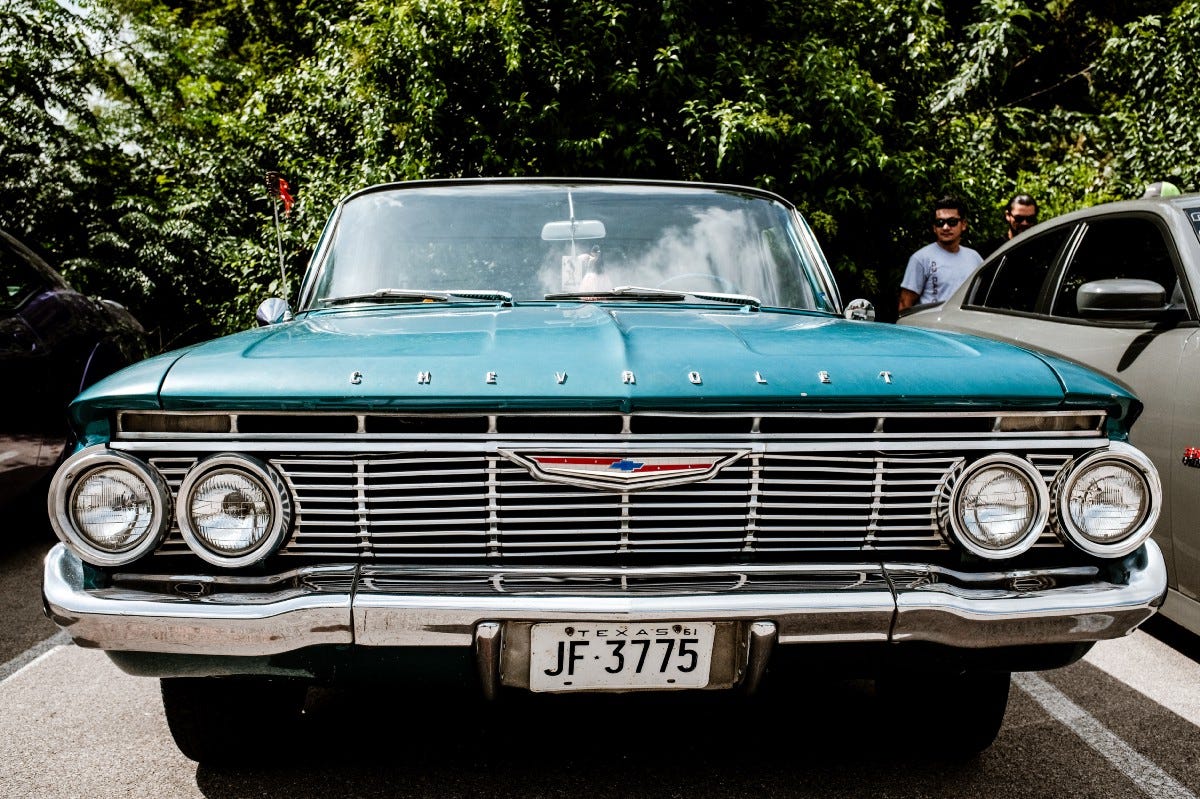
In the set of images below, I favored the color version of this Chevy. The dark tones of the landscape in the background didn’t provide much separation from the car. I certainly could have lightened the tones of the paint but I’m trying to keep my time at the computer or iPad to a minimum. The color version popped on its own nicely with a Profile applied to the Classic Chrome JPEG and slight contrast adjustment.
As much as I have been in love with Fujifilm’s Acros simulation, I have to say that the monochrome looks I’ve been getting in Lightroom CC with the Profiles on top of Classic Chrome JPEGs are really good. Using the Profiles gives me a look I like in black and white while preserving some versatility for selective tone adjustment and minor white balance shifts if needed.
One other thing I noticed while experimenting in Lightroom CC’s interface is that for my tastes some of the default Presets for black and white conversions worked great as a base for contrast adjustment before applying a color Profile. I used that technique on some of my color images from this car show. The Profiles work in a different way under the hood than Presets so it is possible to combine them for greater effect. Since some of the default Presets specify a Profile, I just selected the Preset first, then my desired Profile. This allowed me to get my images most of the way there with a couple of clicks, followed by light adjustments on exposure and tone curve.
I know some photographers out there get twitchy over shooting anything but raw and cringe when they hear of someone using JPEGs. Yes, the ultimate post-processing options are to be found in raw file editing. For me, I take the path of keeping things simple. I don’t want to spend a lot of time editing and I’m perfectly OK with the limitations I’m creating for myself. Never fear, I do use raw files when the situation calls for it — scenes with huge dynamic range and really crappy lighting (think live music here) — usually are a job for raw files.
Check out more images from the car show on my gallery site.
Originally published at www.michaelconnellphoto.com.